Table of Content
Apply the darker shade to center part of your lips using a lipstick brush. Gently dab the lip stain on using a soft, tapping motion. Focus the color on the inner part of your mouth, and work your way to the center of your lips. The makeup products used to add color to lips have been limited to lipsticks and glosses for the better part of a century. But recently more options for lip coloring products have been created….
Lip stains will not only add a hint of colour to your lips but also keep them moisturised throughout the day. But before you go out to buy a lip stain, scroll on down to find out how you can get kissable lips with this DIY lip stain. This lip stain is perfect for those who are on a budget and plus, you get to feel like a cosmetic chemist developing your own makeup. As its name suggests, the texture of this tint feels as refreshing as water on the lips.
How long will food coloring stain your Lips
It also helps make your lip stain look more natural. It will make applying the lip stain a lot easier. Add 5 parts aloe vera gel and one part food coloring to an empty bottle and mix well. Applying food coloring directly to lips and allowing it to dry. Since food color is considered safe to put in food, it should be safe to use as a lip stain.

Mix with a teeny amount of water and layer on using fingers / Ear buds. Help us delete comments that do not follow these guidelines by marking them offensive. Let's work together to keep the conversation civil. Thanks to all authors for creating a page that has been read 291,244 times. % of people told us that this article helped them.
How To Make Natural Lip Stains – 2 Popular DIY Methods
From there, you can combine different berries for the brightest shades. Lipsticks have taken a back seat since 2020, all thanks to the coronavirus lockdown and face masks. And even though we'll be wearing masks for the unforeseeable future, lipsticks are making their way back in the beauty game. To get started, grab a small bowl and combine the cocoa butter, coconut oil, and beeswax.

Stir the mixture well and here you have your very own lip stain. Just apply this whenever you plan on running errands or when you wish to add a hint of color to your lips. Wait for the concoction to cool down before adding the pinch of color you like.
Makeup
Next, drag the applicator from the other bottom corner to the middle to connect the line, being careful to follow the natural curve of your lip. Then, fill in the center of your bottom lip and smack your lips together to transfer some of the stain to your top lip. Finally, finish filling in your upper lip by defining your cupid's bow and touching up any sparse areas. Usually being thin, lip stains give a natural tint of color to your lips. Some fruits and vegetables from your kitchen may turn into your natural lip stain with simple steps. First up, I love multi-use products that can be applied in multiple areas, and lip stains are very adaptable in this way.
Between the shades, finishes and added benefits like moisturizing properties and SPF additions, there’s little reason not to use them. Wait for the mixture to cool down before adding in the pinch of colour you desire. You can add a bit of lipstick to make it more pigmented. To prepare your DIY lip stain, first, mix the coconut oil, cocoa butter, and beeswax until it forms a paste. Beetroots can hide them and give a lovely dark tint. When your using a felt tip marker type of lip stain apply it inside to your lips then spread it out using your finger to achieve a just bitten look.
LATEST ARTICLES
This juice can be applied over your lips and allowed to dry for a natural stain. However, adding a bit of olive oil or Vaseline gives a glossy look to your lips. Let’s delve into preparing our own lip stains with some yummy recipes.
Make an "X" to define your cupid's bow, then use your applicator or brush to trace from each corner to the "X". If needed, touch up the color to make sure the entire lip is covered. Start applying the lip stain to your bottom lip. Simply start at one corner of your lip, and drag the applicator or brush to the middle of your lip. Then, start at the other corner and slowly drag the applicator or brush to the middle to connect your line.
A color additive that may possibly cause an allergy is FD&C Yellow No. 5 which may cause itching and hives in some people. "Microwave the mixture for 15 seconds to melt or place on very low heat in a small saucepan," Grigore says. Once it's done warming, stir to combine melted ingredients and pour back into the bowl if you heated it on the stove. Let me know what you think and, if you do try the recipe, let us all know how it works for you. Thank you so much for taking the time to read through this article. I figured they do a good job of staining my dinner tablecloth, so they must work well at staining lips.
She has worked and trained with several global celebrity makeup artists including Dior's Ricky Wilson. Start outlining the inside of your lips with the brighter lip stain shade. Keep the lip stain inside your lip line, not outside.
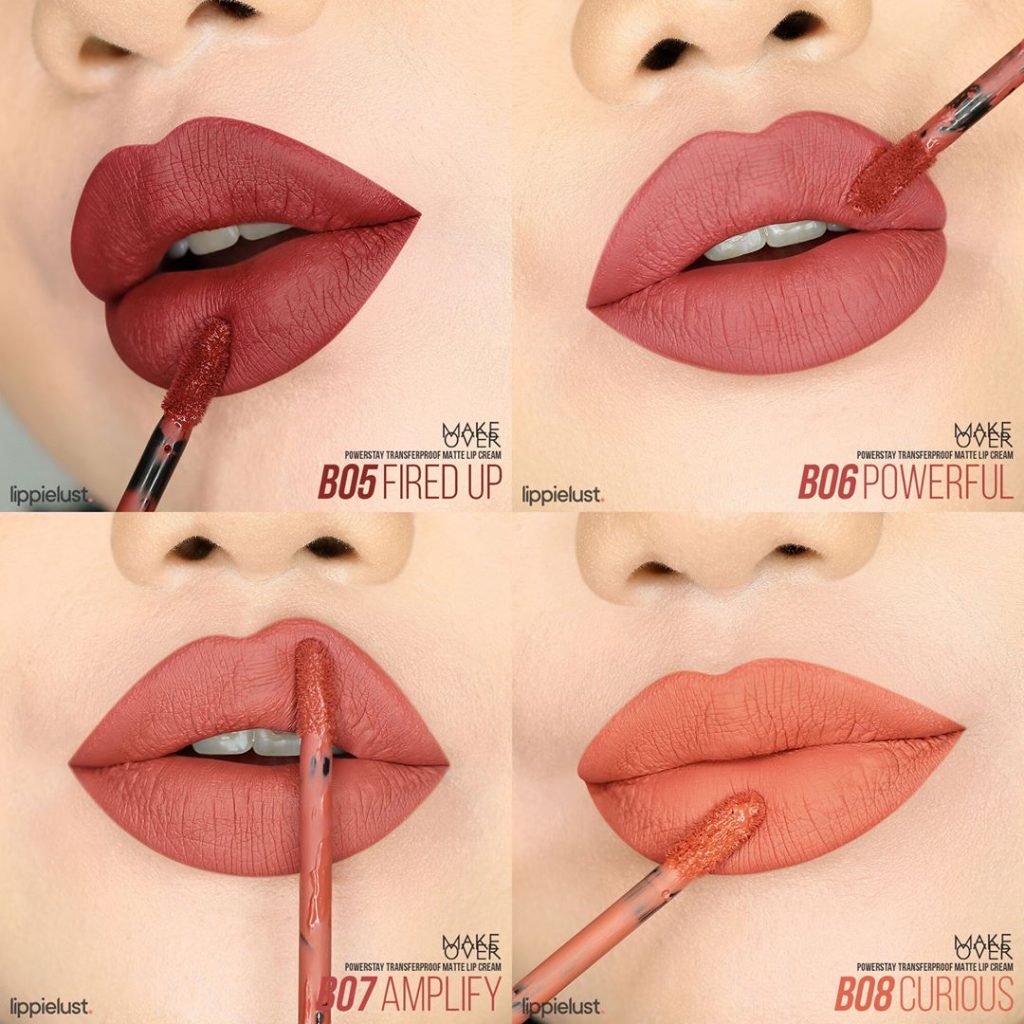
The best part is – you can also use them as cheek tints. So follow the instructions above and gift yourself a self-made lip stain. When it comes to lip products, there are few things we love more than a lip stain. It delivers more pigment than a lip balm but requires less maintenance than a lipstick. Swiping on a lip stain provides our lips with an effortless flush of color that instantly amps up any look.

Check below for some interesting yummy lip stain recipes that you can make of your own. Use a disposable lip brush to combine the glue and the food coloring. Mixing food coloring and other ingredients to make a stain. Commercial lip colors are great, no doubt about it.
The innermost part of your lips should still have the lighter lip stain color. For a sharper, crisper look, use a lipstick brush to apply the lip stain—even if it comes with an applicator. Blend the lip stain shade in with a lipstick brush. Once you have outlined your lips using the brighter shade, go over your lips with a lipstick brush. Focus on the transition line, right where the two shades meet.


No comments:
Post a Comment